DIY REMOVE & REPLACE DECALS

HOW TO REMOVE & REPLACE GAS PUMP DECALS
An easy way to refresh older gas pumps is with a new set of graphics, replacing peeling or cracked decals with new, high-quality ones.
But how can you assure you place the new decals precisely and straight? And what about that leftover residue from the old graphics? We’ve got your step-by-step how-to, also available in downloadable PDF, to assure your decal refresh goes as smoothly as possible.
Because dispenser graphic decals can be difficult to remove, gas stations will often skip this step and apply new decals on top of the old ones. The results don’t look great, which is counter-productive to getting new graphics in the first place.
Lucky for you, there are some tricks to remove even stubborn graphics.
Removing Current Pump Graphics
-
 Choose the right day
The best time to remove or apply decals is when it is warm outside. The temperature must be at least 45 degrees Fahrenheit, though 60 degrees or warmer is preferred. Humidity above 90% can negatively affect decal install.
-
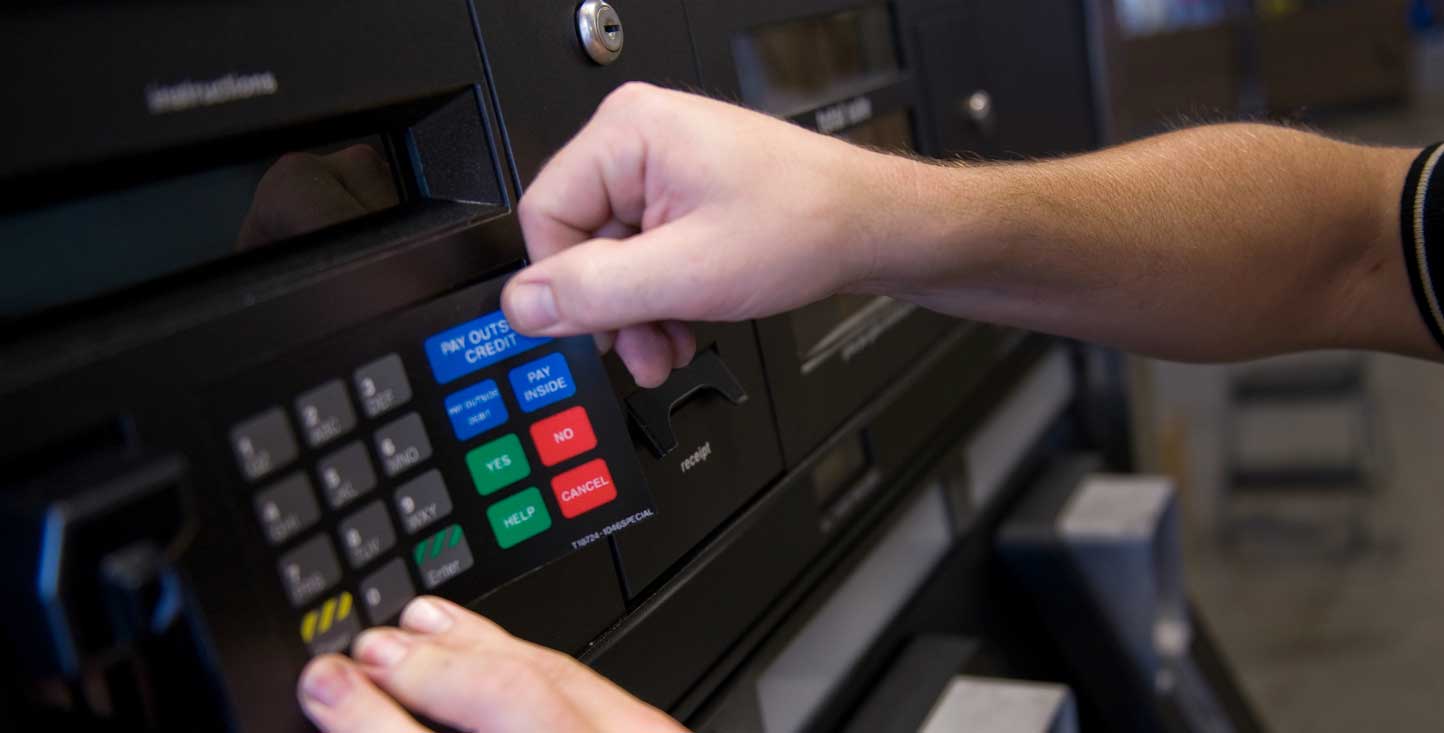
Peel off the old graphic
The easiest way to remove the old decal is with a plastic squeegee or an old credit card. Wedge the squeegee or card between the decal and the pump surface using a consistent, slight pressure and a back-and-forth motion. When enough of the graphic has been peeled away, grab onto it and tug the remainder of the graphic off. If the decal peels away easily and without tearing, skip ahead to Step #4.
-
Scrape off any remaining bits of decal
If your decal breaks off into pieces when trying to remove it, use a quality scraping razor the same way you used the squeegee or credit card to remove any stubborn bits of decal. For decals that resist the razor, try heating it up with a rag and hot water, which can make the adhesive easier to remove.
The longer a decal is applied to a surface, the tougher it will be to remove, and weather and time can make decals brittle.
NEVER use a heat gun, blow dryer, or other electric tools to remove pump decals, as they can cause an explosion.
-
Remove the remaining adhesive residue
Some residue can be removed with a soapy cloth and squeegee while some material, especially polycarbonate overlays, may require an adhesive removing agent such as rubbing alcohol, acetone, Goo Gone, or Rapid Remover.
Please note that removing agents may damage other parts of the pump. If you are wary of chemicals or are on a budget, some installation professionals say using a thin layer of peanut butter on adhesive residue overnight has helped. (We’re not kidding. The fat content in peanut butter effectively dissolves adhesive.)
-
Give the area a final wash
Wipe the adhesive-free surface with a damp cloth, and dry the area, removing any excess residue or dirt.
For the best results, use a petroleum-based cleaner such as DuPont Prep-Sol #3919S Cleaning Solvent, Sher-Will-Clean R7K156, or an automotive-grade cleaner and wax remover
Installing New Pump Graphics
-
 Prepare the surface
After your surface has been cleaned and dried, wipe it with isopropyl alcohol using a lint-free cloth. For the best results, use a 70% alcohol solution. Note that while a higher ratio solution is preferred, it may also damage other parts of your pump, so use with caution.
-
Position the graphic
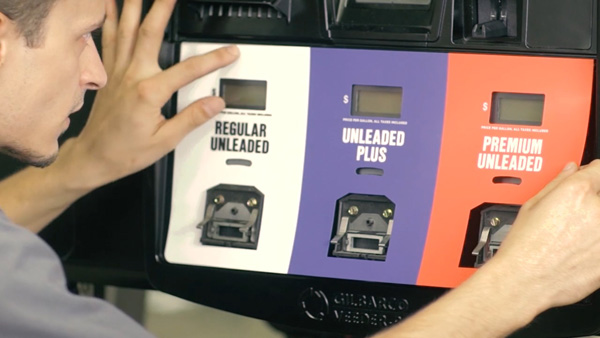
Remove the entire backing of the graphic, and tack the decal in position with minimal thumb pressure in the upper corners only. Many dispensers have raised edges to indicate where the decal should go, allowing for error-free placement.
-
Adhere the graphic
Using a plastic squeegee and firm pressure, start at the center of the decal and slide the squeegee outward to the edges in each direction, removing wrinkles and air pockets. Run the squeegee around all four edges with very firm pressure to ensure a complete seal.
If your graphics have any air bubbles, poke a hole in the bubble with a pin, and smooth the decal out with your fingernail or a squeegee.
Dispenser Graphics from Top to Bottom
Get dispenser graphics, decals and overlays for any part of your dispenser. We manufacture OEM-equivalent graphics for most dispenser models from Wayne, Gilbarco and Tokheim.

